Table of Contents
Typical Micro-Machining Challenges
Micro work magnifies the usual shop problems until they dominate your yield curve. Three realities define the day:
Insufficient rigidity at tiny stickouts.
Small tools act like tuning forks: toolholders, guide bushings, and even coolant thrust can excite vibration. The result is waviness, chatter bands, and premature nose/edge chipping.
Poor heat dissipation.
Chip cross-sections are microscopic; chips don’t carry heat away as efficiently. Any rubbing—caused by too-small chip thickness—skyrockets temperature, dulls the edge, and grows burrs, especially on 316L and Ti-6Al-4V.
Material diversity narrows the window.
From ductile OFHC copper to gummy 316L to hard-on-the-edge cobalt-chrome, the “right” parameters and edge preps diverge. A single program rarely holds Cp/Cpk across the mix without tool-specific windows.
Add burr formation and dimension consistency requirements (think 10–20 µm limits on medical/connector features), and your process becomes a balancing act: minimum viable chip thickness, clean exit geometry, stable thermal load, and repeatable offsets after each tool change.
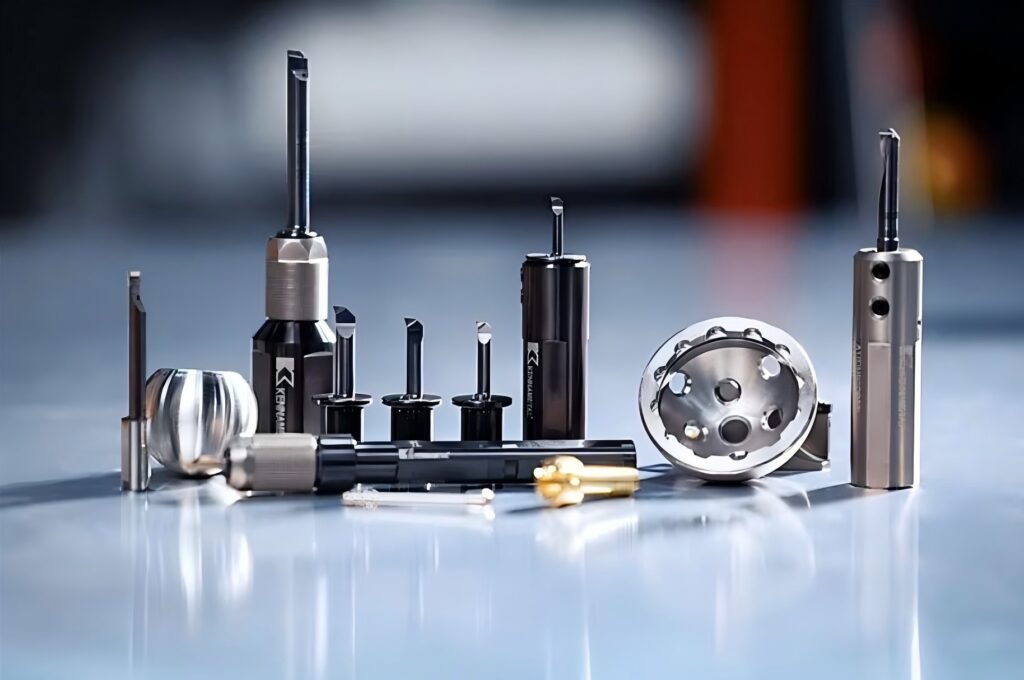
Series Highlights—What Matters in a Micro Tooling Stack
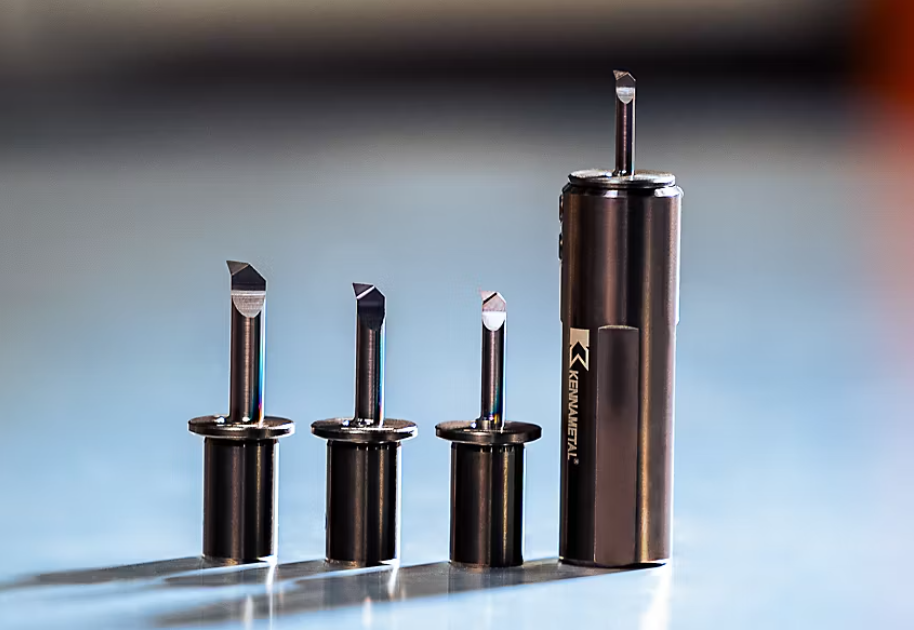
Geometry & Micro Edge-Hone: Lowering Entry Force Without Sacrificing Life
At micro scale, a “sharp” edge still needs a controlled micro-hone (e.g., 2–8 µm, application dependent). The hone:
Prevents micro-chipping when the edge hits inclusions or engages intermittently (micro-slots, thin walls).
Reduces entry force when combined with high rake and polished flutes/rakes—critical for thin sections and tiny webs.
Stabilizes burr behavior by keeping chip flow attached and directed, rather than shearing repeatedly at the exit.
Rule of thumb: softer, gummy alloys (316L, pure copper) prefer smaller hones and freer rake; tougher, notch-prone materials (Ti-6Al-4V, Co-Cr) benefit from a slightly larger hone that resists micro-fracture.
Coated vs. Uncoated: Stainless / Titanium / Copper Triage
Stainless (316L/304): A low-friction, high hot-hardness coating improves wear and suppresses built-up edge (BUE). Keep surfaces smooth and edges honed minimally to avoid rubbing.
Titanium (Ti-6Al-4V): Needs thermal barrier + low affinity. Coatings that cut friction and prevent adhesion perform best. Control heat with steady feed; avoid air-cut/rub.
Copper & Cu-alloys (OFHC, brass): Often uncoated or polished coatings to maintain a razor edge and reduce BUE. Prioritize flute polish and keen rake; avoid coatings that thicken the edge.
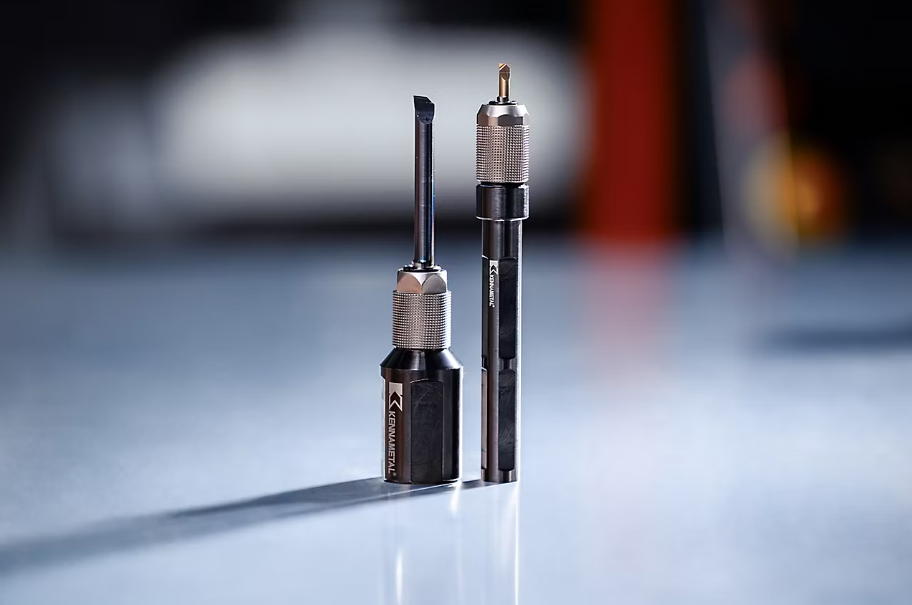
Swiss-Type Ecosystem: Micro Clamping, Coolant/Lube Paths, Length Control
Micro clamping: Hydraulic or shrink-fit collets/ER with precision sleeves; target ≤ 3 µm TIR at the tool.
Coolant/lube: Internal coolant for micro drills; directed needle nozzles for end mills/groovers. MQL can work on Cu/Al and very short engagements; for Ti/316L use well-filtered emulsion or oil.
Length control: Use presetters and standardized gage lengths. For exchangeable micro tools, maintain a register of effective lengths and map offsets per station to keep first-article time down.
Application Scenarios
Medical: Bone Screws, Guidewires, Micro Grooves
Bone screws (Ti-6Al-4V): Free-cutting edge + controlled hone, modest Vc, steady fz, and copious, clean coolant. Program thread whirls or micro-turn threading with chip-escape clearance moves to avoid recut.
Guidewires (316L): Micro-turning with minimal overhang and gentle lead-in arcs; avoid dwell. Finish with a clean, sharp radius tool and minimal fn above the rubbing threshold.
Electronics: Micro Slots & Micro Holes in Copper/Brass
Micro slots (0.2–0.6 mm tools): Polished flutes, uncoated or polished-coated tools, high Vc, modest ap/ae, and MQL or clean emulsion. Chip evacuation is king—avoid step-downs that trap chips.
Connector holes: Micro drills with through-coolant if available; otherwise, use pecks that do not rub—short pecks with positive chip evacuation and no idle dwell at depth.
Watchmaking: Tiny Fillets, Threads, and Face Details
Precise nose-R matching, arc-only finishing paths, and synchronized coolant jets keep the sheen consistent. For tiny threads, Top Notch micro inserts provide predictable form and repeatable offsets—critical when parts are cosmetic from every angle.
Line-rate design: Where possible, consolidate turn-mill-drill into one clamping to avoid stack-up. Use tool libraries with micro-specific defaults (feeds, ramp angles, lead-ins) to shrink programming variance.
Startup Parameter Card
Start mid-range; confirm chip shape and edge temperature, then adjust Vc by 5–10% or fz/fn one step at a time. For micro turning, keep fn above the rubbing threshold; for milling, avoid “polishing passes.”
Swiss/Micro Startup Parameters
Material | Tool Ø (mm) | Vc (m/min) | fz / fn | ap / ae (mm) | Coolant / Lube | Notes |
316L Stainless (milling) | 0.2–1.0 | 35–70 | fz 0.001–0.012 | ap 0.02–0.15 / ae 5–15%Ø | Clean emulsion, high aim | Use micro-hone 2–4 µm; keep fz above rub; avoid dry. |
316L Stainless (turning) | — | 60–110 | fn 0.010–0.040 | ap 0.02–0.12 | Emulsion, directed jets | Lead-in arcs; minimize dwell; tiny nose-R with steady fn. |
Ti-6Al-4V (milling) | 0.2–1.0 | 20–45 | fz 0.001–0.010 | ap 0.01–0.10 / ae 5–10%Ø | Rich emulsion, high filtration | Slightly larger hone (4–8 µm) for edge security; keep feed steady. |
Ti-6Al-4V (turning) | — | 40–80 | fn 0.008–0.030 | ap 0.02–0.10 | Emulsion or oil | No air cuts; avoid pecking-like moves; maintain chip thickness. |
OFHC Copper / Brass (milling) | 0.2–1.0 | 120–280 | fz 0.002–0.015 | ap 0.02–0.20 / ae 10–20%Ø | MQL or light emulsion | Often uncoated/polished rake; watch BUE; evacuate chips. |
OFHC Copper / Brass (turning) | — | 150–300 | fn 0.015–0.050 | ap 0.02–0.15 | MQL/clean oil | Keen edges; small hone (≤3 µm); short overhang. |
Iterating by Chip Form & Burr Micrographs
Capture 50–200× images of exit edges and burr roots during trials.
If feathery burrs appear: raise fz/fn slightly while holding Vc, or switch to a freer geometry.
If matte/rub marks appear: reduce Vc ~10% and keep feed; check coolant aim and TIR.
If micro-chipping shows at the edge: increase hone one step or reduce ae/ap, maintaining chip thickness via feed.
Quality & Consistency
First-Article Confirmation / SPC Sampling & Cpk Targets
First-article: Verify diameter, position, and surface with high-magnification optics or contact gauges suited for micro features. Confirm runout at tool (≤ 3 µm).
SPC: Establish sampling by time or piece count from your first stable run. For critical features (medical/connector), target Cpk ≥ 1.33 initially; push toward 1.67 after window lock-in.
Offset discipline: Tie measured drifts to pre-agreed offset steps (e.g., −0.005 mm per trigger). Do not “chase” single outliers—act on trends.
Burr Management: Mechanical + Electrochemical Handoff
Mechanical deburr (brush, micro-chamfer) immediately in-cell for consistent edges.
Electrochemical deburr (ECD) for internal, inaccessible burrs on medical/connector parts. Keep a clean transfer (no oxide contamination) between operations.
Tool Batch Consistency & Incoming QC
Inspect new lots for TIR, edge hone spec, coating color/texture, and length repeatability. Record batch-ID against early life performance (holes/edge-meters to first wear limit). Accept only lots that reproduce your Cpk window without parameter changes.
Top Notch in Micro Grooves & Threads
Top Notch brings indexable predictability down to micro widths and small threads:
Insert strength vs. size limit: As widths shrink, body mass and pocket support matter. Choose holders with shortest possible overhang and ensure axial support behind the insert.
Tiny pitch threads: Program constant chip thickness with conservative entry angles; avoid pausing at the root. Use a finishing spring-pass only if metrology shows consistent undersize—not by habit.
Top Notch Micro-Thread Strategy
Thread / Groove | Material | Nose / Width | Vc (m/min) | fn / Pass Strategy | Notes |
M1.4 × 0.3 (external) | 316L | Nose ≈ 0.08–0.10 | 30–60 | 6–8 passes; constant DOC | Directed coolant; verify burr at first crest; spring-pass only if trend demands. |
M2 × 0.4 (internal) | Ti-6Al-4V | Nose ≈ 0.10–0.12 | 20–40 | 7–10 passes; gentle entry | Keep feed steady; avoid dwell; use oil-rich emulsion; inspect with go/no-go then vision. |
Micro groove 0.25 mm | Brass | Width 0.25 | 150–230 | fn 0.01–0.03 | Keen edge; MQL ok; avoid corner dwell; verify burr footprint under 100×. |
For micro threads in Ti, bias toward more passes with consistent DOC rather than large first cuts; thermal spikes chip noses.
Risks & Boundaries
Spindle balance & runout at ultra-small diameters: At Ø 0.2–0.5 mm, even 5–8 µm TIR burns tools. Balance the spindle/collet, verify ≤ 3 µm at the tool shank, and check every tool change.
Oil mist / MQL & cleanliness: MQL works for Cu/Brass and shallow ops, but debris must not accumulate in slots/bores. Filtration and line purges are mandatory. For Ti/316L, prefer clean emulsion or oil with robust filtration; keep nozzle aim repeatable.

FAQ
Q1: What’s a sensible scrap/wear limit for micro tools?
A: Retire a tool when you see edge radius growth beyond spec (e.g., +2–4 µm over baseline), burr trend rising across three samples, or spindle load creeping at constant program. “Run to failure” is a false economy at micro scale.
Q2: How should I inspect features this small?
A: Combine contact gauges for bore/diameter with optical/vision for edges and threads. Use 50–200× micrographs to classify burrs. Calibrate measurement uncertainty and include it in your SPC limits.
Q3: Coating on titanium—when to use it?
A: Most Ti micro work benefits from a low-affinity, thermal-barrier coating plus a controlled hone (4–8 µm). Go uncoated only if you cannot keep chip thickness above rubbing or need an ultra-keen edge for a soft beta-Ti form.
Q4: How do I cut burrs without tanking tool life?
A: Maintain positive chip thickness (raise fz/fn slightly), reduce Vc 10%, and ensure coolant hits the edge immediately. Add a micro-chamfer tool or a light “erase pass” at the end. For hidden edges, hand off to ECD.
Q5: My micro drill walks—what first?
A: Verify TIR, use a spot or pilot with identical point geometry, apply through-coolant if available, shorten overhang, and avoid long pecks. Small, frequent chip evacuations with no dwell are safer.
Q6: Can Top Notch cover my smallest threads?
A: Below certain diameters, geometry space limits insert strength. If you’re below the platform’s min size, consider ground solid carbide taps/whirls. Otherwise, use micro-width Top Notch with the shortest holder and steady DOC steps.